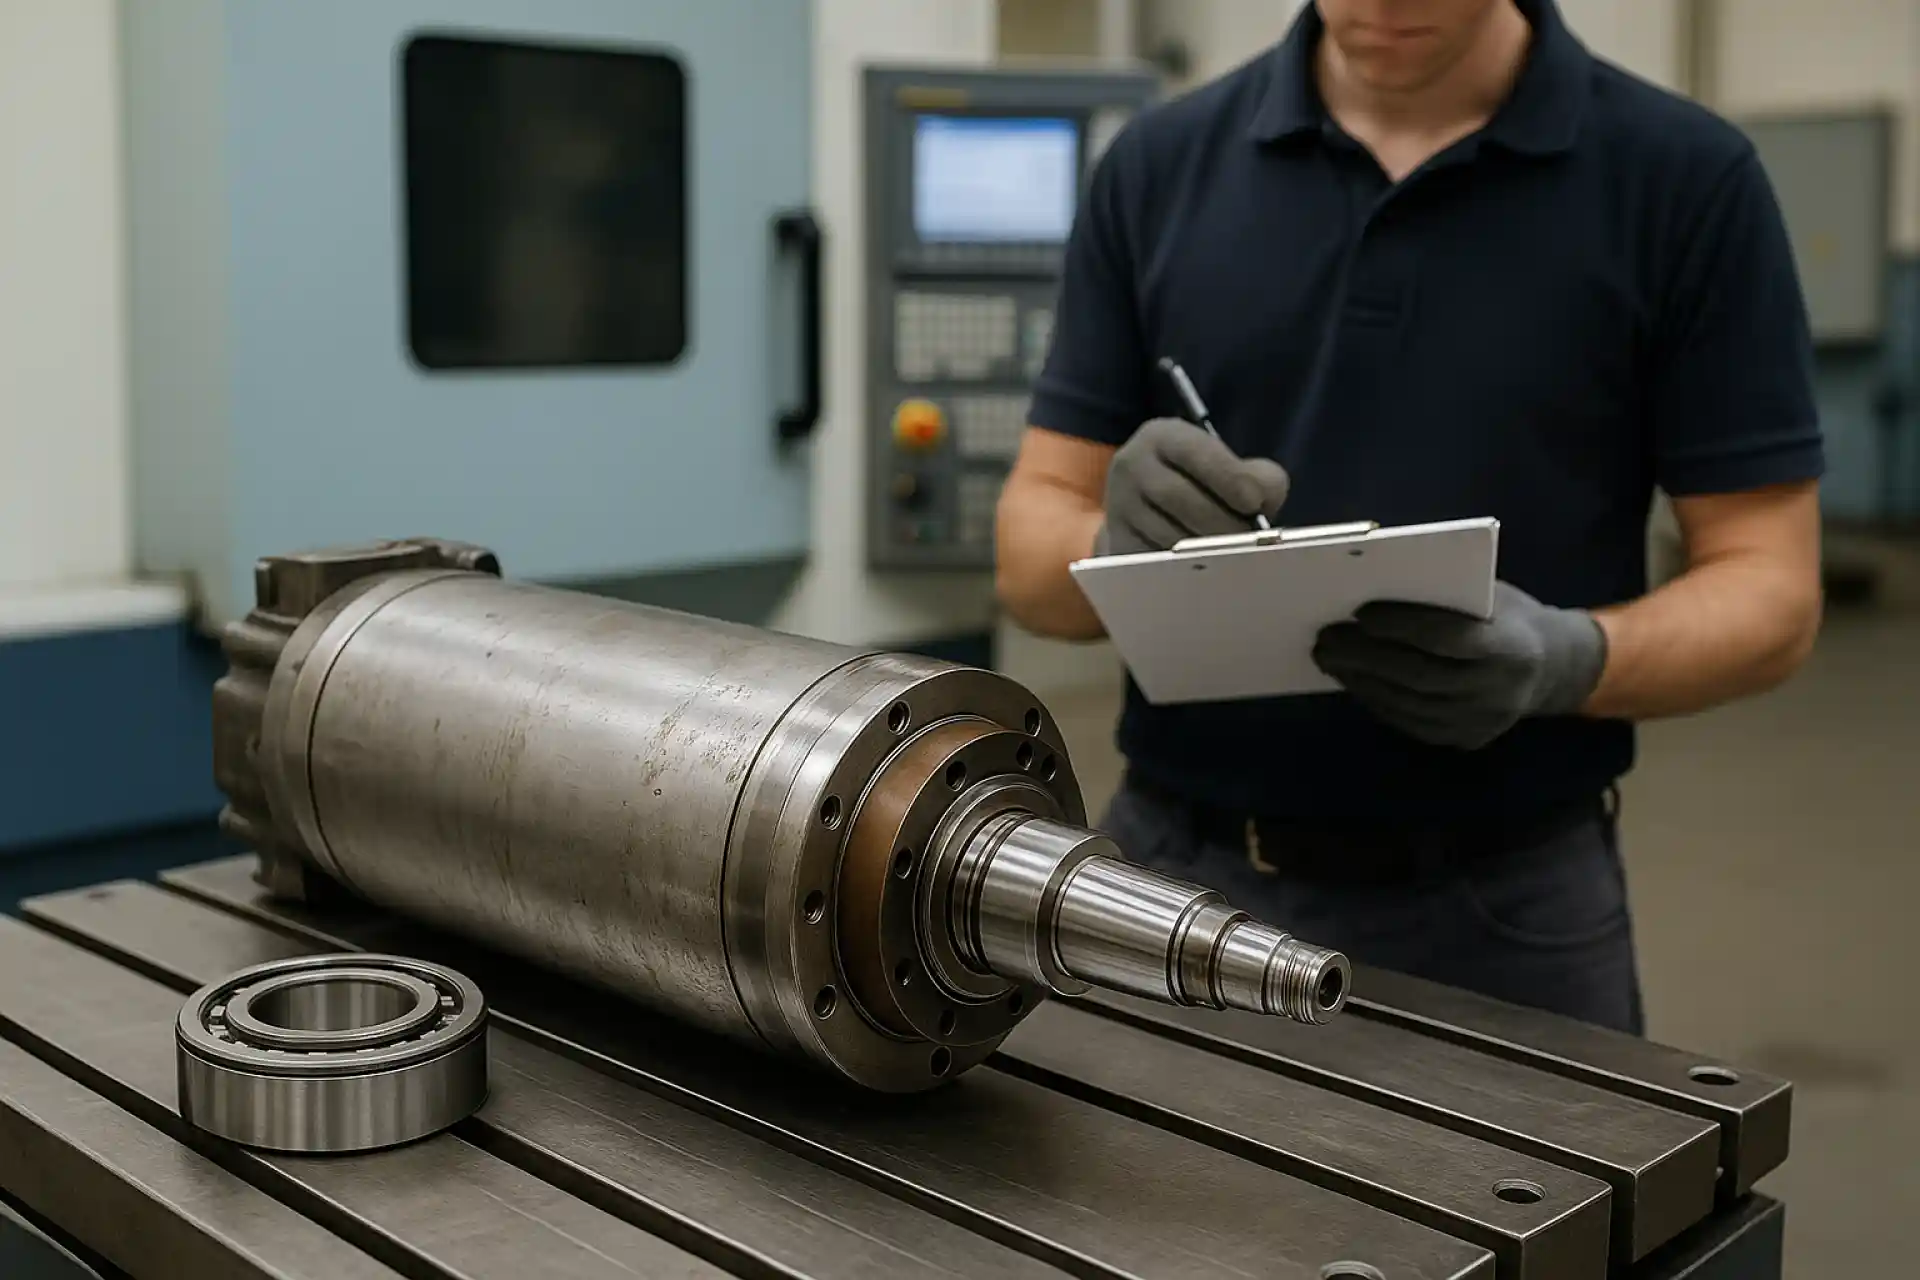
Spindles are the life blood of your manufacturing operations. If you have ever faced a spindle failure before, you know how the loss of this key item can bring your facility to a standstill. If machines are not running, your shop is not generating revenue. With spindles being such a key component of the manufacturing process, learn why early detection and expert spindle repair can be a true difference maker. By knowing causes ahead of time it will help prevent future issues, and keep your shop running efficiently and productively.. Below we will walk you through the early signs of spindle wear so that you know what to look for and can prevent failure before it happens.
Below are the top 6 leading indicators that a spindle is underperforming and may need service performed
A sudden performance drop is one of the first indications of a spindle that is beginning to wear out. An early sign of this is not being able to hold tolerances on parts or parts coming out of the machine with inconsistent finish and quality.
Recommendation: Machining Accuracy Test
This is done by having your CNC machine produce a part and then measuring tolerances versus the requirements for the part. Spindle wear often causes vibration in tooling, leading to poor finishes, higher scrap rates, and repeatability issues. Monitoring part accuracy and looking for signs of inconsistency will help you detect early signs of possible spindle failure.
Grinding, screeching, rattling, or other odd noises are generally indicative of issues within the spindle itself. These noises are mostly likely caused by failure of the bearings, which in turn can be caused by contamination, sudden impacts/crashes, lack of lubrication, or end of operating life.
Recommendation: Vibration Analysis
One of the best ways to evaluate the condition of your precision spindle is by performing a vibration analysis. This test requires the use of sensors to capture the frequency and amplitude of vibrations originating from the spindle. High vibrations indicate imbalance or bearing problems, which all will lead to eventual spindle failure.
Spindles are meant to spin with high levels of precision. However, when excessive vibration starts occurring, you will notice damaged tooling, poor finish on parts, and increased production time. The main causes of excessive vibration are imbalances, worn tool holders, or misalignment.
Recommendation: Imbalance and Alignment Testing
In order to identify the source of the problem,, several tests can be carried out on the spindle to check for imbalance and misalignment. For example, ensuring that your tooling is properly aligned, the pull force on your drawbar is within spec, and that the tool holder is making solid contact with the taper are all good initial areas to check. By regularly checking alignment and monitoring for imbalance, you can help increase the life of your spindle.

Some heat is normal for a CNC machine spindle, but overheating is a definite sign that something is wrong. Causes for overheating may be worn bearings, lack of lubrication, overloading, or incorrect spindle speeds. If the spindle gets too hot, it can cause the shaft material to warp, resulting in bearings locking up and potential damage to the shaft, bearing, journals, and housing.
Recommendation: Thermal Monitoring
To evaluate whether there are overheating problems, measure the precision spindle temperature while it is running using thermal sensors or infrared thermography. Also, ensure that the spindle is being properly cooled and contaminates are being flushed from the cutting area.
Heightened tool wear is one less obvious, but highly indicative, sign of spindle problems. One sign that your spindle may not be operating as it should is if your cutting tools are wearing out at a quicker rate than normal.
Recommendation: Tool Life and Wear Pattern Inspection
Pay attention to your tools and note any irregular wear, such as uneven cutting edges or inconsistent finish on parts. Conduct tests to determine tool life and tool wear rate. Early detection helps spot spindle issues, and saves on tool replacement costs.
Spindle wear may be seen visually. Scan the spindle and parts for cracks, rust, and corrosion regularly. Most notably you may see damage at the spindle nose/taper.
Recommendation: Visual Inspection and Lubrication Check
Check for cracks and fractures on the spindle housing and taper during routine inspections.. Also, check that the machines’s lubrication systems are clean and operating normally. Finally, checking tools for unusual wear patterns as well.
Timely detection of spindle wear and failure can save you thousands of dollars in repairs and costly production shutdowns. Machine monitoring systems and protocols that include vibration, temperature, and tool wear, will notify you of potential issues before they become catastrophic. Spindle maintenance is not only done to correct issues, but rather to provide care that will keep machines running with precision, performance, and longevity.
Gilman Precision is an expert at spindle repair. We have industry experience and expertise. Our advanced repair methods restore spindle performance back to OEM specs, ensuring long-term reliability.